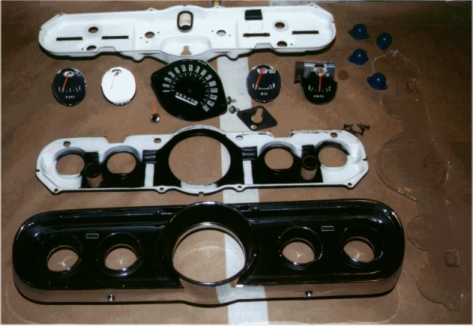
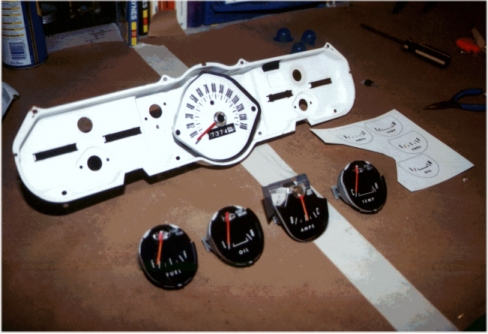
| The Exploded view
of a 5 gauge pod assembly....I took the old dash apart and cleaned the
back housing and light shield with steel wool. No repainting was
needed, as the flat white inside the sealed dash assy never saw
light. Note the 4 blue bulbs to the right. I drilled off the
light covers. Now they have a white glow at night. The lens
can be seen laying to the right hand side.
If you're using a gauge pack found at a
swap or wrecking yard, be sure to check the function of all the gauges
before applying the overlays. A simple test using a CVU will check
their useability. |
 |
 |
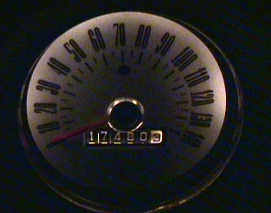
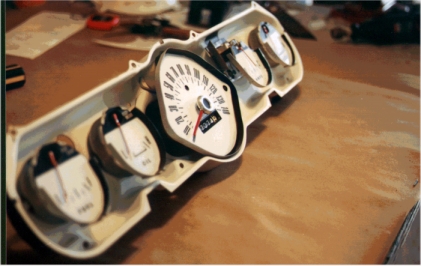
Here, the
overlay has been applied to the speedometer and reinstalled. The
speedo needle will simply pull off. Hold the wheel on the back
that's attached to the pointer..and gently pull it off. Repaint it
while it's off. Note the cutout for the odometer and highbeam.
The overlays are laying to the
right. They are glossy prints on sticky back paper. Very
nice
quality. |
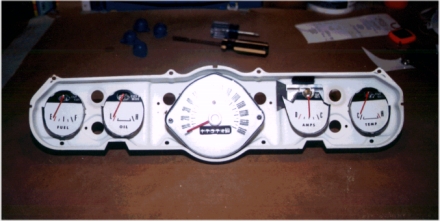
| Here, all five
gauges have been applied and reinstalled into the base housing.
The overlays have peel off backing and are very flexible so they will
easily slip under the needle and can be positioned along the lower lip
of the gages. Make sure your gauge face is clean before sticking
down.
After applying the face, slip a piece of
paper under the needle and paint. I used bright red. It
shows up very well during both day and night. |
 |
 |
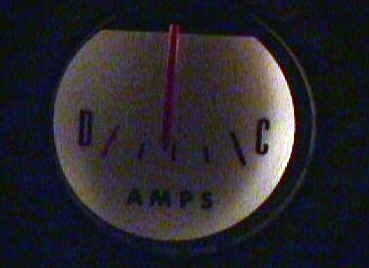
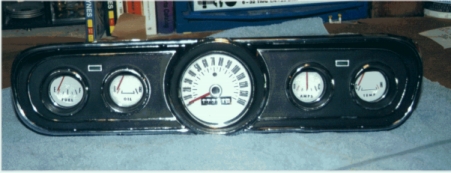
A bit washed
out...but you can see the contrast of the red to white face here.
Notice how the overlay doesn't go to the top of the gauge. That's
ok because the top of the gage is covered in the assy. |
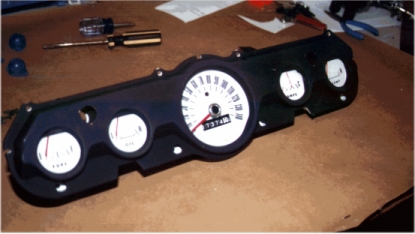
| With Light
Shield layed over the assembly. the overlays are centered nicely
in the holes and look good.
I repainted the outer side of the light
shield flat black to clean up some handling scratches. |
 |
 |
The assembly
with lens and new front bezel assembled. |
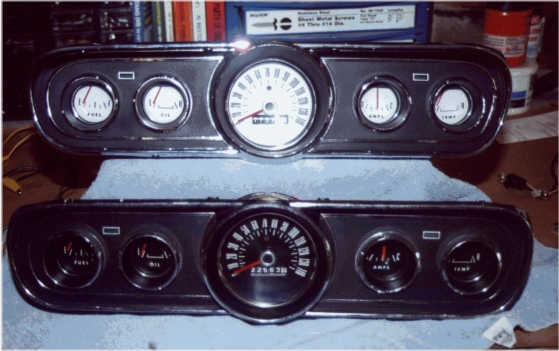
| The old
cluster (actually rebuilt last year) and the new cluster. There is
a significant difference in visibility. |
 |
|
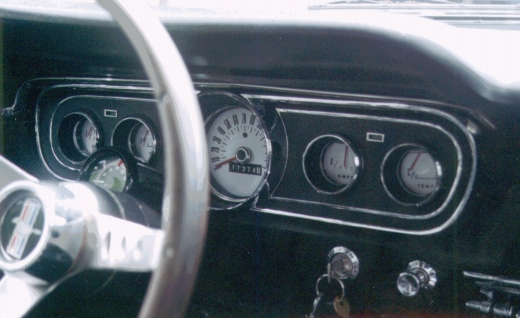
Finally,
installed in the dash.
I'm sorry for the low light photos.
I didn't take the time to clean these up much.
But I think you get the idea of how they
look. |